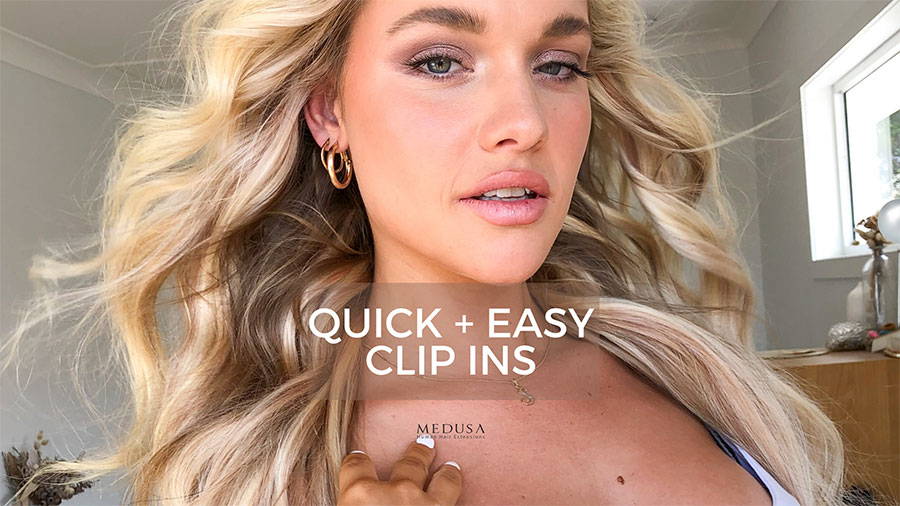
How To Perfectly Apply Your Original Full Head Set Of Clip-In Hair Extensions
Styling by Isabella Jane Hair & Makeup. Model Sienna Marshall.
Follow these quick and easy steps
Wash, brush and blow dry then prepare yourself with hair clips and hair ties, one large mirror that you will be facing and a smaller one to hold behind your head to check your progress as you go.
Use your fingers or, if you have them, large professional hair clips. Draw a line from the bottom of each ear and bundle the rest of the hair on top of your head, securing in place with a clip or hair tie.
Apply a 3 clip weft first at the top of the line of hair that has been left unclipped. If you need to, with a comb, tease out the roots to enable the clip a really strong grip on your hair. Make sure each clip is secure and you are one hundred per cent happy with it before moving on.
- Unclip your hair bundle on the top of your head and this time draw a line from the middle of each ear. This is the widest section of your skull and you will be clipping in the 4 clip weft here.
- Draw a line from the tip of each ear for the remaining 3 clip weft. This should be suitable.
Now draw a line from the top of your ear to the centre of the back of your skull and on this line you can clip in the 2 clip wefts on either side of your head. Don’t worry if it crosses over with another weft just make sure it is securely attached to the roots of your hair. The one clip wefts can be placed just behind either temple.
Shake out your hair to ensure there are no loose attachments and carefully feel over your skull so that no sneaky clips can be felt obviously protruding and at risk of being seen.
Now that your clip-ins have been applied with accuracy and precision, you are free step out in confidence and focus on doing what it is that you do best… being your awesome fabulous self!


